
I taught sewing lessons at The Tin Thimble in Loomis, CA for 5+ years. At the end of one of my favorite classes "Get to Know Your Sewing Machine" (for those of you in Northern California, you can look at a full list of their amazing classes, here) I would show my students how to maintain their sewing machines. I always loved that little end segment, and I never felt that I had enough time to really dive into it. A tune-up at a sewing machine repair place can cost upwards of $65, and I can tell you that I cannot afford to do that often. My sewing machine is used several times every week, for hours on end, and I take it to be professionally tuned about once a year. As long as the belts, power cords and tension stay in good condition, I can service it myself. I do what I'm about to show you once a month, to ensure my machine stays in good working order. Some of you may find that servicing your machine yourself solves problems such as skipped stitches, pulling, tucking, slightly-off tension and will greatly increase the longevity of your machine.
Your manual can be a crucial resource to assist you in this process. Look for the sections labeled "maintenance" or "troubleshooting". The manual will also have helpful diagrams of your machine that you can reference throughout this tutorial. If you don't have a manual, most can be found online to download, or on sites such as Ebay or Etsy to purchase.
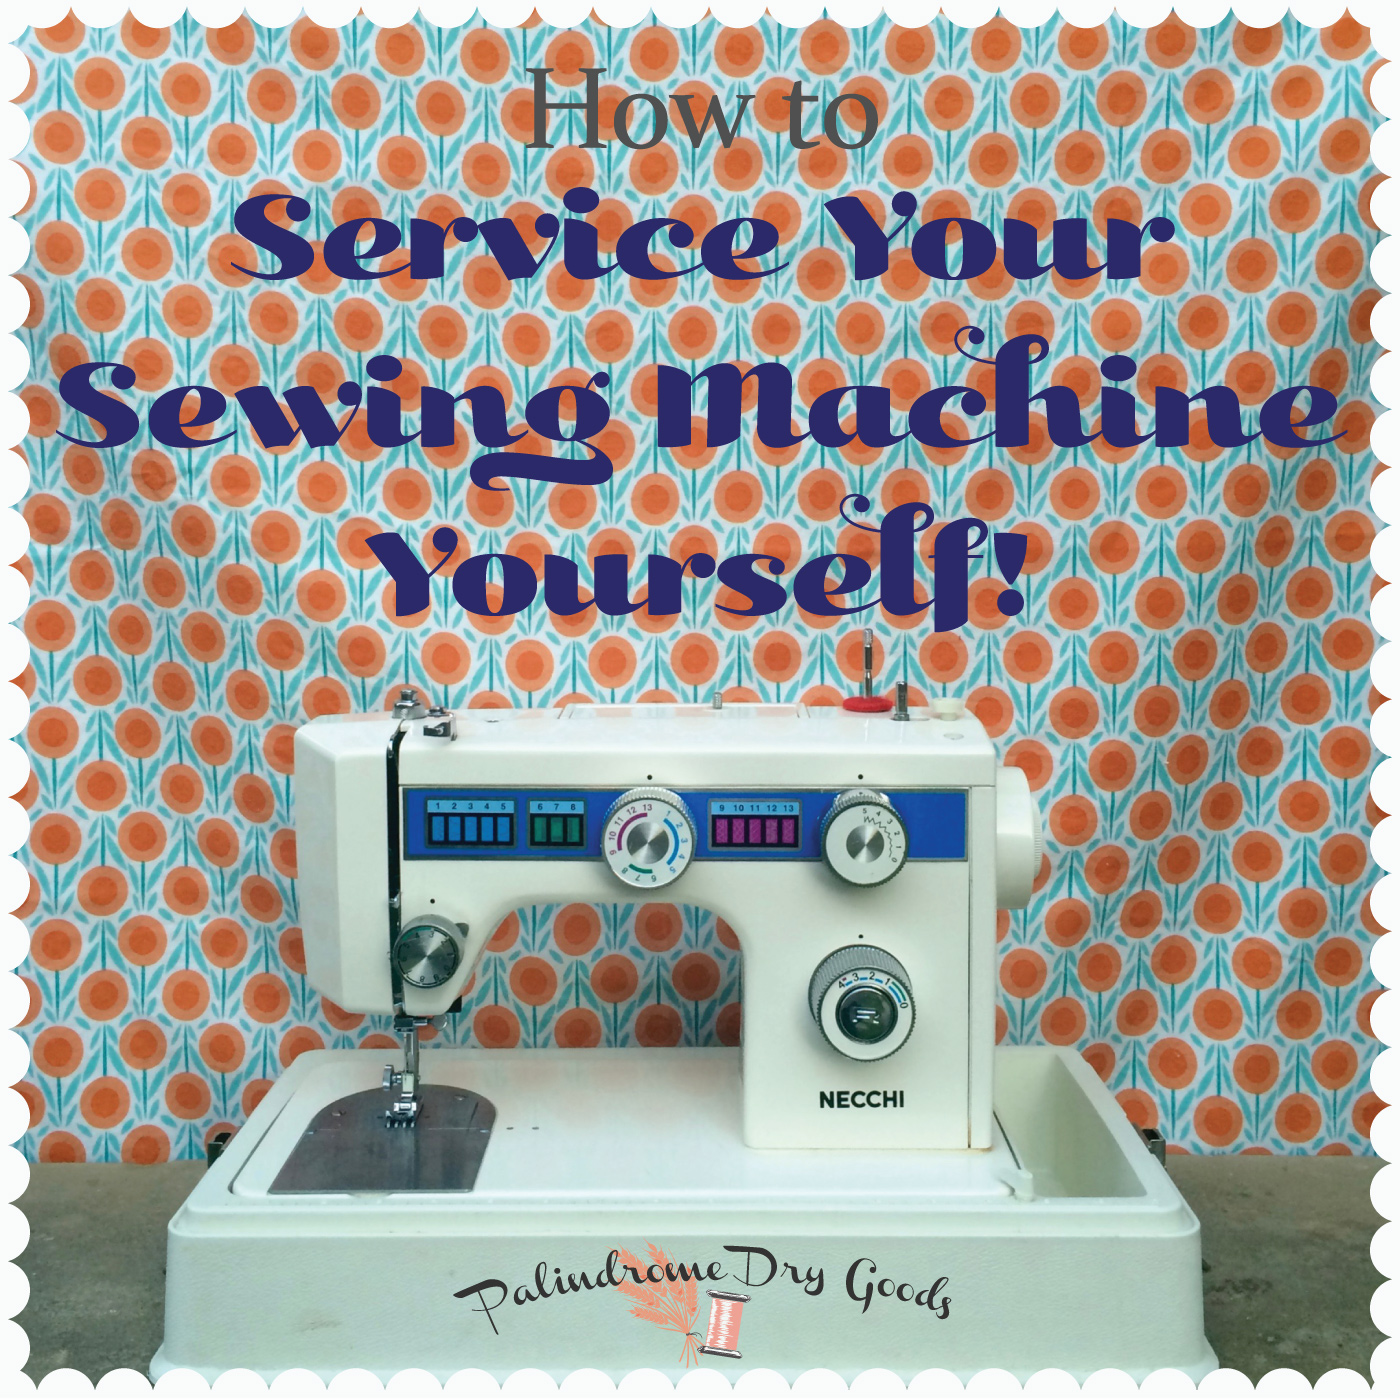
This blog post has been in the works for some time now, and now that my darling husband-to-be acted as my photographer, I am excited to deliver it to you!
I would like to say that these instructions are best for older machines. By older I mean most machines from the late 90's and older. Most brand new machines don't leave you the option to service them this thoroughly, and therefore you'd have to take them to a sewing machine repair shop. This is a good example of why I prefer vintage sewing machines to new ones, but that's in a separate post you can read about here.
Ready? Ok, grab your machine and some tools and we'll get started! If you think of things I didn't cover, or have questions, please feel free to comment below or shoot me an email!
What You'll Need:
• Screwdrivers in many sizes. You can purchase a kit of small screw drivers from most fabric stores & sewing machine repair stores. You can also use the screwdrivers that come in your eyeglass repair kit. You'll also need a regular sized one that you use around the house.
• A knitting needle
• A rag or towel that can get (very) dirty.
• Sewing machine lubricant. Also available for sale at most fabric stores & sewing machine repair shops. I recommend the singer brand that comes in a tube. I don't recommend the very liquid-y stuff that comes in a squirt-type bottle, but to each their own.
•Tweezers
• Several brushes. I use old makeup brushes and paint brushes, but you can also purchase a cleaning brush for your machine at the aforementioned stores. You may also use a toothbrush.

To Begin:
Remove all thread spools, the bobbin, the bobbin case and the needle. Set them aside, somewhere safe.

Remove the screws from the top of your sewing machine. Mine in particular has 3, yours may have more or less. Some machines don't have any screws at top, but instead have a hinged lid that opens.

Note if there are washers with the screws and that they may be different sizes. Be sure to make a note of which screw fits in which opening. I recommend making a sheet that looks like this:

Next, remove the top cover. Some machines have a metal bracket underneath that keeps the lid on tight, you may have to push the lid back (away from you), or forward (toward yourself) to get the bracket to unhook.

And then you'll see this! The inner workings of your machine. Take a moment to appreciate all the work it does for you :)

Turn your hand wheel towards you and take a look at everything that moves in there.
Cleaning the Top of the Machine:
You're now going to take a rag and clean out all the old, nasty, dirty grease. A knitting needle tucked inside a rag becomes a handy tool for reaching those smaller spaces. A toothbrush may come in handy during this step as well. I wouldn't advise using your soft brushes for removing grease, they're better for lint removal later on.
• Be gentle: Use kid gloves when cleaning your machine. It doesn't require a lot of force or pressure to get your machine nice and clean. No sharp jabbing! Being too rough will greatly increase your chances of bumping springs, and dislodging crucial pieces.


• Watch out for springs! These little babies are sensitive, fragile and will screw up the entire function of your machine if they're dislodged or broken. See the photo below for examples of placement. If they are covered in lint, use a soft brush (like a makeup brush, or the sewing machine-specific cleaning brush) to brush it off. If they are coated in dirty grease, use the rag to gently wipe it off.

Below are pictures of the gross stuff you may encounter in your machine. Hunks of dried grease, dirty grease, lint, threads, etc. all needs to come out! Be sure to clean each place, then turn the hand wheel 1/4 turn so that you can see and clean all sides of the wheels, cogs, etc.

You'll also want to turn your stitch selector, stitch width, and stitch length knobs (depending on where they're placed on your machine) to make sure that you clean all sides of their mechanisms. The photo below shows the built up grease on my stitch selector knob. To get it all clean, I turned the knob through each stitch to clean entirely around the cog.

Oiling the Top of the Machine:
Once you've thoroughly cleaned the top part of your machine, we need to replace all the grease we just removed. Oil helps to keep all the parts and pieces moving smoothly, and prevents excess wear, friction, heat and noise.
We are going to grease any two parts that move against one another.
Below I have pointed to the places I put oil. Your machine may have more or less moving parts.


What not to do:
• Don't grease the belts. I am pointing to the drive belt in my sewing machine in the picture below. If any of the belts looks frayed, or cracked, take your sewing machine to a professional to have it replaced.

• Don't over oil. Too much oil can cause the pieces to slip and malfunction. If you're using the liquid oil, it only takes a drop or two per part. If you're using the thick stuff, a half-pea sized will be more than enough.
Cleaning the Left Side and the Bobbin Housing:
Now, open the left side panel on your machine. Mine has a hinged door that opens, yours may have screws. If it has screws, be sure to add them to your paper sheet and label them so that you don't forget where they go! It's also a good time to brush any lint off of the tension knob (if that's where yours is placed), and the thread guides along the front of the machine.

Next remove the foot, and the needle if you haven't already.

Take a soft brush and clean the dogfeed (those are the little teeth that stick up from the bottom of your machine).


Now remove the needle plate (also known as the throat plate). Mine has screws, (see above) some have a bracket underneath so that you can slide the plate off by pulling it towards you.

Remove the lint that builds up underneath the needle plate. Below, you can see that mine was so dirty, I used a small screwdriver to gently push out large pieces of lint. Here's a good time to use your soft brushes & grease-free toothbrush as well.

Removing the Bobbin Housing:
Taking apart the bobbin mechanism can be a little intimidating, but follow along and you shouldn't have a problem. If you have a top loading bobbin, you do not need to follow these steps. Because I don't currently have a top loading machine in my possession, you may want to see what you can find on YouTube, and I will add pictures of that process as soon as I can!
For a front loading bobbin: you should see two small arms on either side of the bottom of the bobbin mechanism. Gently push those arms away from the case. See the photo below.

You can then remove the first metal piece (known as the 'race'). See below.

You will then be able to remove the second metal piece (known as the 'hook'.)

Gently brush out the entire bobbin mechanism. Brush over the hook and race and collect all the lint you find. Mine is below. Gross.

Oiling the Left Side and the Bobbin Housing:
Again, turn your hand wheel and watch what moves inside the left side panel. Place a drop of oil anyplace where two mechanical pieces move against one another.


Be sure to place a small amount on the needle bar (the cylindrical piece of metal that moves the needle up and down).

For the bobbin mechanism, be sure to place a small amount behind the part that swings back and forth (move the hand wheel in full rotations to find this part). See the photo below.

Cleaning the Underside of the Machine:
My machine has a small plastic arm at the side that holds the machine into it's bottom case.Whether your machine is in a case like mine, in a table, or not in any kind of housing, you'll need to tip it back so that you can look underneath it. I rested mine on a stack of books, but you could also lay a towel down on your workspace and set it in on it's back.

Take your soft cloth and gently wipe down the underside as well as the bottom of the case, if the machine is in one.


Oiling the Underside of the Machine:
Once more, turn your hand wheel and watch what moves underneath the machine. Place a drop of oil anyplace where two mechanical pieces move against one another. Look for very small movements at the underside of your machine, not all parts here make drastic movements.


Reassembling the Bobbin Housing:
Firstly, turn your hand wheel until the inner crescent moon shaped piece in the housing is on the right.

Secondly, pop the 'hook' into the housing, it will only fit in all the way if the crescent-moon shaped piece is in the right place. You may have to adjust it's position using the handwheel.

Third, place the 'race' over the top of the hook and the crescent-moon shaped piece. See that itty-bitty notch at the bottom of the housing between the two black arms? That notch helps align the 'race' to the rest of the housing.

Lastly, pop the little black arms over the little metal buttons on the housing. Be sure that the dogfeed lever to the right of the housing (it usually has little red arrows on it), is in it's upright position.

To Finish Up:
Lastly, replace all the screws in your machine (top, side and bobbin), and give the machine one last good wipe down. My machine gets especially dusty on the back side and in the grooves of the case.

Then, replace the needle, and using a piece of fabric that you don't care about (you could even use the rag you've used through this whole process), run the machine at full speed, without any thread in it. This moves the oil throughout the machine and allows any excess oil to work it's way out. You may see oil on the fabric, and that's OK. Continue using the machine without any thread until you don't see oil on the fabric anymore. Then, using thread you don't care about, thread the bobbin and the top of the machine and sew some more. You may see that the thread is greasy (either on the top or the bottom), and this is OK too.

And there you have it! Your machine has been serviced.
What did I forget? I'd be happy to add pictures and descriptions to anything.
What questions do you have?
Would you guys be interested in a tutorial on fixing the tension on your machine?
Comment below and let me know!
You may also find this post on Restoring a Vintage Sewing Machine helpful!


I love these posts, I can not stop reading! They are really helping me to understand sewing process better. I would love to read about fixing tension on a machine. I am sewing for some time now, but do lack a lot of basic knowledge about my machine and different fabric types to know how to adjust everything right. I would love to know how to set all things on a machine according to fabric I use and pattern (not what type of stitch - straight or other - but why sometimes my stitches seem a bit loose no matter what I do.) Thank you, Ana
ReplyDeleteAna,
DeleteI am so pleased to know that you like these posts! Thank you for your feedback. I will work on a post about tension, so stay tuned! Be sure to follow this blog so that you'll receive emails when I post new stuff. You can sign up in the box on the right hand side titled "Follow by Email". Happy sewing!
Thanks for the great tutorial on cleaning. I have a problem with my machine. I set the stitch length and it begins with the correct length but then quickly goes to a super tight tiny stitch length....so tiny there is no way for me to safely remove the stitches without tearing my fabric and in fact, the stitches are so close that they are in some cases, cutting the fabric. Any clue why and how to fix it myself? It is an older machine, similar in looks to the one you cleaned in your tutorial.
ReplyDeleteHello there!
DeleteHmmm...It sounds like this could caused by a couple different issues. Does your machine have the option to change the pressure on the foot? This is usually a small post on the top left of the machine (that can be pushed down to increase the pressure) with a ring around it that can be pushed to release (which lessens the pressure). If you're unsure if your machine has this, check the diagram in your machine's manual. If you can change the pressure, try sewing with several different amounts of pressure and see if it helps.
Are your dog feed up? There should be a little bar with three red triangles on it underneath your machine to the right of your bobbin housing. Again, check your manual to locate this and then make sure that your dog feed are in the up position.
Also, does your bobbin thread loop and knot when the stitches become small? This could indicate a tension problem that may be causing the inconsistent stitches.
Try those steps and let me know if you see a difference!
I don't know about adding it but I just found this website and I'm thrilled... http://shop.sew-classic.com/main.sc
ReplyDeleteGreat post Btw... 😃
ReplyDeleteThanks for commenting! Happy sewing.
DeleteOur machine (25 YO Brother) needs the timing adjusted on a regular basis, like every couple months. It runs well otherwise but I'm tired of paying someone for this. Would you do a tutorial on adjusting the timing? I've looked on-line but they all assume that I'm already a mechanic of some type. Thanks for the great info.
ReplyDeleteHello! I have been brainstorming a tension & timing tutorial for some time, but I want to make sure that my knowledge is correct before I write it. As soon as I feel confident in my skills, I'll write it up and let you know. Thanks for reading and commenting. Happy sewing!
DeleteYes, a tutorial in fixing the tension on the machine would be great also.
ReplyDeleteThanks
Thank you! I just completed my cleaning and you saved me $90.
ReplyDeleteYou are so welcome, Wendy! Happy sewing.
DeleteI'm also fascinated with your posts. I currently have 5 sewing machines. I do not know how to service any of them and they are all broke, or not operating up to capacity. Is it possible to service the new computerized machines. I have a Brother Esante Ese, (not new, just computerized), and it just started messing up. Service calls start at $100.
ReplyDeleteI also have a very old Pfaff 130-6 I have no idea how old it is. It works, I only know because I plugged it in and tried the peddle, that is all. On closer inspection, I see everything is kinda frozen up, but moveable. It is in a cabinet with all the paper work and most of the parts, some I do not know what they are. Do I dare try and service this myself? The cord needs replaced, surely I can do that myself? Any input, I would appreciate. Thanks Midge
Hello Midge!
DeleteIf I were you, I would begin by following this tutorial with the oldest machine you own. It will be simpler and tougher than the newer ones, and therefore it can stand a bit more abuse if anything goes wrong (which I doubt will happen....). You CAN service the newer computerized ones, but not to the extent that you can older machines. I don't own a computerized machine, and never have, so I can't be much help with that topic. If you have the manuals for all your machines they will be an excellent resource!! The manual for each machine should have a 'troubleshooting & maintenance' section that will explain (perhaps not in FULL detail, but it will be a start) where you can place oil and which parts of the machine can be removed. After you've serviced the oldest machine, move onto another one and you will find that you can apply many of the same steps to each machine (up until you get to the computerized ones).
I would ABSOLUTELY service the Pfaff for a couple of reasons. 1) you have the manual 2) everything moves, even if it's a bit rough. And yes, you can replace the cord yourself. A quick Google search should pull up several videos for replacing both the foot pedal cord and the power cord.
Good luck to you and please let me know if you have other questions! Happy sewing!
I too have several machines 13 or 14 at least I need to time and one of them I tried and thought adjusting needle depth would help in picking up bobbin thread not..just made it worst spent several hours a day trying to fix and finally put it to the side so any tutorials you have sewing machine repair and adjustments I am greatly in need of
ReplyDeleteThanks for such a thorough tutorial. I'm going to give a try on my two machines.
ReplyDeleteI loved your cleaning tutorial! I've done my own cleaning for years. I have a Dressmaker that I bought used when my 50-year-old son was a pre-schooler. It's my favorite, especially for quilting, because I made a cabinet for it which keeps all the extra weight of the quilt from pulling like it does on a machine on a table. I DID pay $65 to have it professionally serviced, etc., when the motor burned out. But now its tension must not be right or something, because it sews properly for a few inches then there's a loop on the underside. What causes that? And how can I fix it? My Dressmaker has a left-side facing bobbin assembly, its needle is not centered, but left-oriented (not adjustable) and it takes low-shank presser feet. The motor is on the backside, near the wheel. I haven't found a manual for it online.
ReplyDeleteI also have a "new" machine I bought in the 1990s, a Brother Jeans Machine, in a case like yours, and another I bought at my favorite junk store for $15. I'm going to attempt to restore it, after reading your featured post below.
P.S. Your darling husband-to-be who took the pictures gave you a BEAUTIFUL engagement ring! Surely, you are his wife by now!
Thanks for this post. It's most appreciated. :)
ReplyDeleteDear Hannah,
ReplyDeleteWith all due respect to you, your excellent tutorial, and as a fellow sewer and lover of vintage machines, I BEG you please, PLEASE stop using grease on the inside of your machines. Grease is intended only for worm gears - the ones that mesh together at a 45-degree angle. The rest of the machine should be lubricated with clear sewing machine oil only. When cleaning up a machine that has been greased rather than oiled, all of that ‘old’ grease is never completely removed. The residue will eventually harden, make your machine sluggish or ‘freeze up’. And should the machine go unused and be stored for a while, that grease will dry, freeze the machine and be a nightmare to fix. OIL only, please! In photo number 10, that blackish crud you see is exactly what can build up and create problems. If sewing machine oil is used, there will be little crud (if any) to remove.
In photo number 34, just behind the bobbin assembly, you can see a small white cover which is held in place by two Phillips screws. The machine’s worm gears are underneath that cover. They need attention too and that’s where grease should be used. (Note: some machines also have exposed worm gears under the top)
I have been sewing and working with sewing machines for over sixty years. I don’t necessarily expect you to believe me but perhaps you at least will contact a dealer's technician and ask him or her for their opinion.
Please keep making your excellent tutorials, Be happy, healthy, and prosperous.
God bless you! I have 8 sewing machines, including my mother's and my grandmother's treadle machines and 2 sergers. And 2 daughters who sew. I can't afford to pay to have them all serviced. Thank you very, very much!
ReplyDeleteI have a question and looked online but can't find answer anyway I have four sewing machines two of which are singers they all have atleast one thing stopping me from being able to use them but I was wondering if I can use one tension knob from one singer on the other singer both of which are vintage?
ReplyDeleteCan I adjust the timing on pfaff1222? It keeps breaking needles inreverse.
ReplyDeleteThank you fit such a thorough tutorial! My machine has been acting up for some time and the nearest repair shop is an hour drive plus the service fee. I appreciate this very much!!
ReplyDeleteThank you so much for this post!!! I am still a little scared to open my machine up, but I am going to save it as a resource. - Marissa :)
ReplyDeleteWhat a fantastic tutorial! It’s so empowering to learn how to service your sewing machine yourself. Your detailed instructions and personal insights will definitely help many sewists save money and extend the life of their machines. I love that you included tips for vintage models too. Thanks for sharing!
ReplyDelete